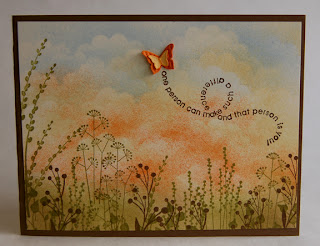
Making the Coil for the Pop up card
 I promised to tell you about the coil card, so here goes . This card starts with the new 1 3/4 inch punch. I punched a circle out of chocolate chip so the items I wanted to pop would be visible and the coil would blend with the background. I cut a coil out of the circle by slowly cutting on the inside of the circle till I got to the center. I then used a glue dot to adhere one section of the coil to the card somewhere in the middle. If there is any glue showing it is important to add an image over that spot so it doesn't stick. I used a scallop circle with insert to cover the bottom section of the coil(near my thumb. Now I add a glue dot to the top of the coil. Below is a picture from convention that shows how the coil should sit before adding glue dot to the center of the coil. (note I only used one coil for this card)
 Now close your card and the coil will be adhered to the other side of the card. I now stamped cut and adhered small images to the card to create the final layout. I used a punched circle to cover the glue dots on the back of each item I added to the coil, and there you go!
This is the sample card that I saw that inspired this card. Picture is from convention


Comments